從蘇黎世到日內瓦的一路陽光,瑞士11天(含安納西車票攻略)持續更新中…

這是我做的攻略…… 然而,這三個平臺貌似並沒連通,每一個都需要爬好多樓梯,爬下來,再走到另外一個爬上去…我們入口就找得頗為波折,等爬上第一個,全部鐵絲網伺候 ,能看什麼,累得半死,放棄了。
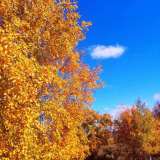
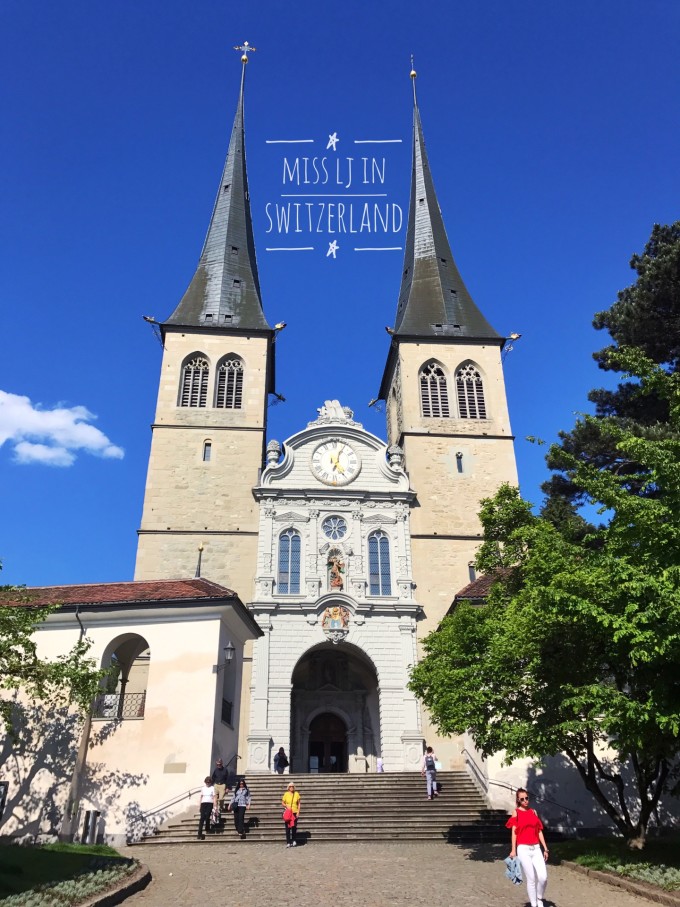
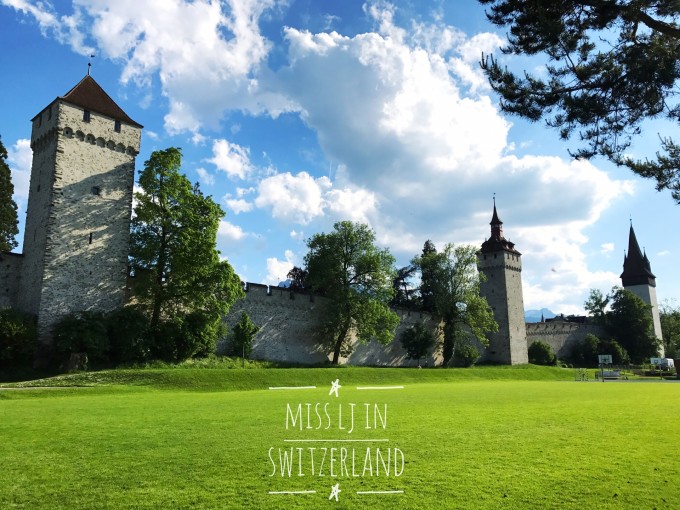
應該只有時鐘塔Zytturm是沒有鐵絲網遮擋的。 但是找城牆入口的路上,經過一大片綠地,好美。
綠地後面的就是城牆。
第三天即將前往 因特拉肯 INTERLAKEN。 DAY3. 盧塞恩 Luzern- 因特拉肯 Interlaken.
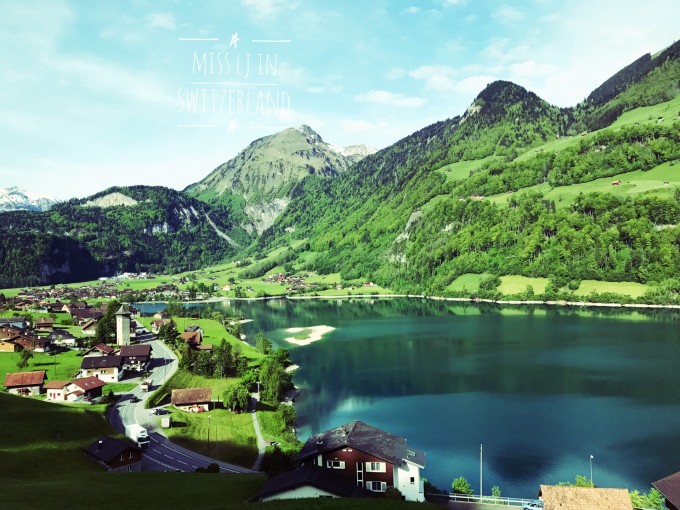
今天的行程是搭乘Golden Pass全景天窗列車到 因特拉肯 。
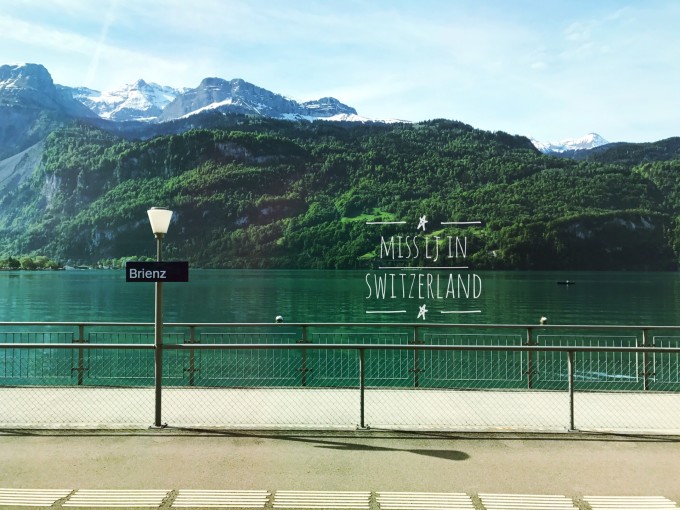
Golden Pass分別有三家公司分段運營。 盧塞恩 到 因特拉肯 這段叫interlaken express,自認為這段風景是精華。上車要坐在右邊,到了 龍疆 列車會神奇的調頭,右邊變成左邊,此時 布里恩茨 湖Brienz就在左邊。剩下兩段是 因特拉肯 到Zweisimmen(這段景色和列車都略普通),Zweisimmen到 蒙特勒 (這段每天有兩班復古列車)。 我們坐了8點05分的那班。本來站台只有兩節車廂在,大家傻傻排長隊,估計都想坐個好位子。可是我想,不對啊…怎麼可能只有兩節車廂?可是後面的車廂又在哪兒呢?這時,後面的車廂就從遠處開過來了,車頭一秒對接車尾,變成了一部列車。 機智如我,還沒等排在前面的人反應過來,我已經跑過去上車了。
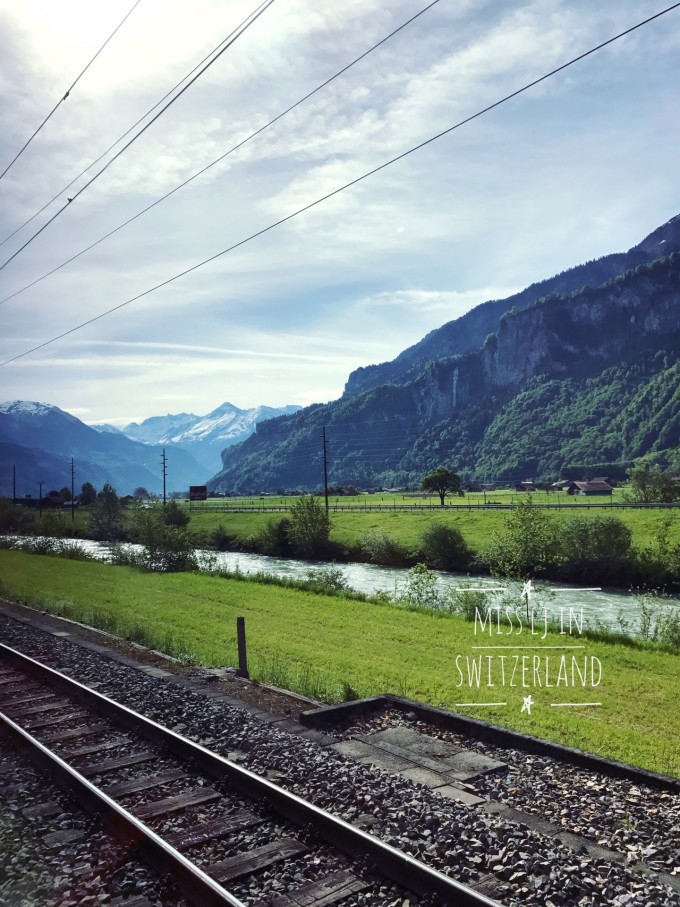
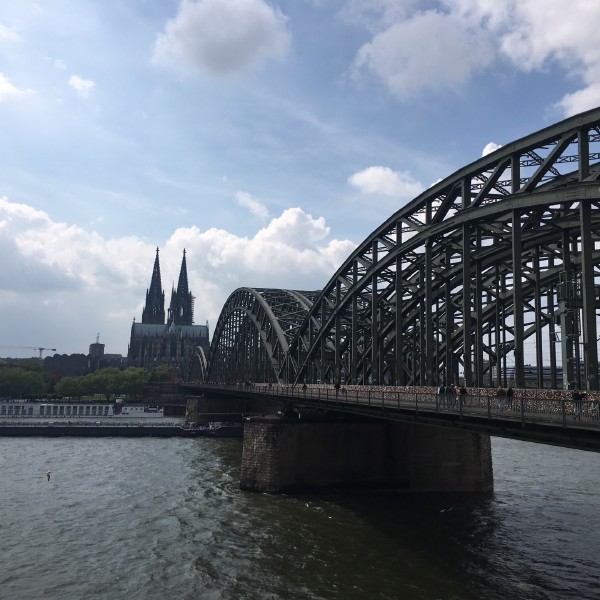
一路風景。