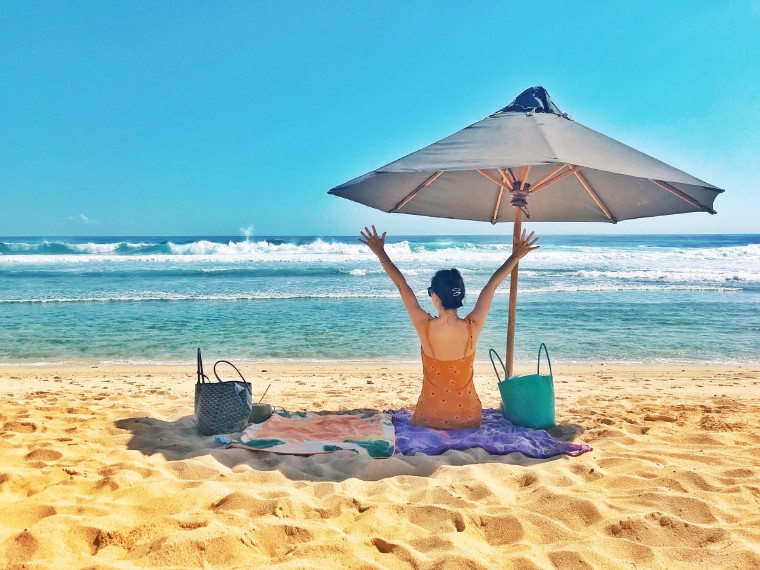
陽光沙灘比基尼,不就是夏天的模樣(●ˇ∀ˇ●)
生活就是不斷發現新的自己,這個夏天我和老鐵去到陌生的城市,去看沒見過的風景,一起丟掉舊的情緒,迎接未知的驚喜。喜歡海島的我們一拍即合,定了這次的 巴釐島 之行(❤ ω ❤)
去程: 上海 浦東—— 吉隆坡 , 吉隆坡 ——伍拉賴國際機場。回程也是 吉隆坡 轉機。去的時候我們想一樣的 吉隆坡 轉機了, 吉隆坡 可以辦理120小時的過境簽,所以我們決定先在 吉隆坡 玩三天。去的時候在機場辦理值機的時候發生了一些囧事( ╯□╰ ),我們沒有打印辦理過境簽所需要的行程單,還好值機櫃臺的小哥哥提醒我們,小伙伴們要註意哦:辦理 吉隆坡 過境簽所需要的行程單要全英文的,千萬不要打印錯啦(。・∀・)ノ
好啦,我們愉快的旅程開始啦( ̄︶ ̄)↗
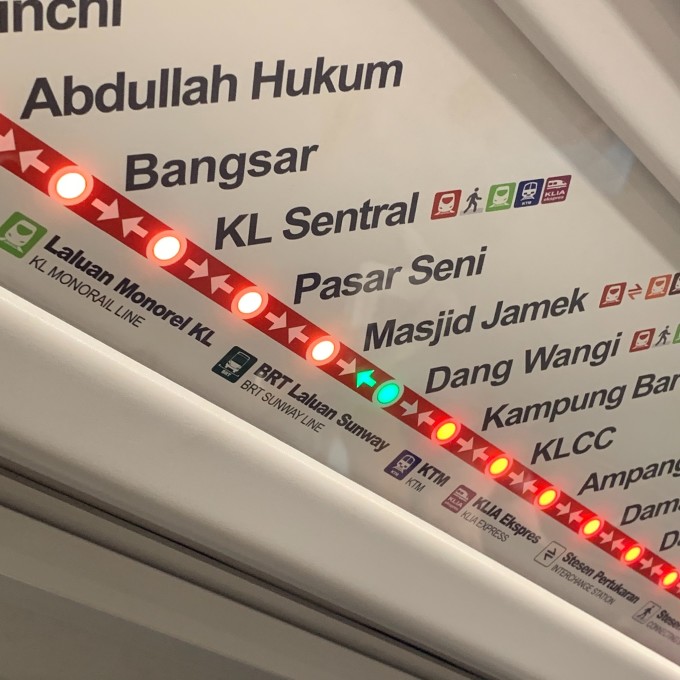
清晨,我們到達 吉隆坡 機場。
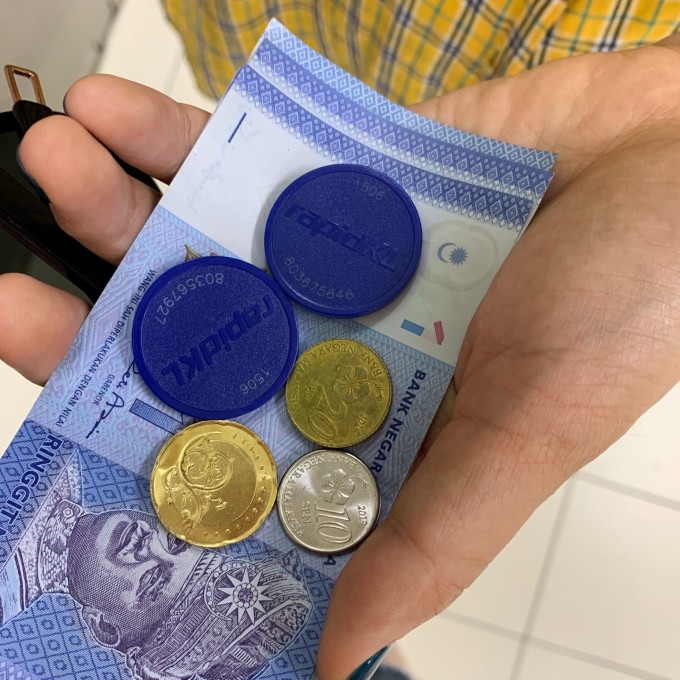
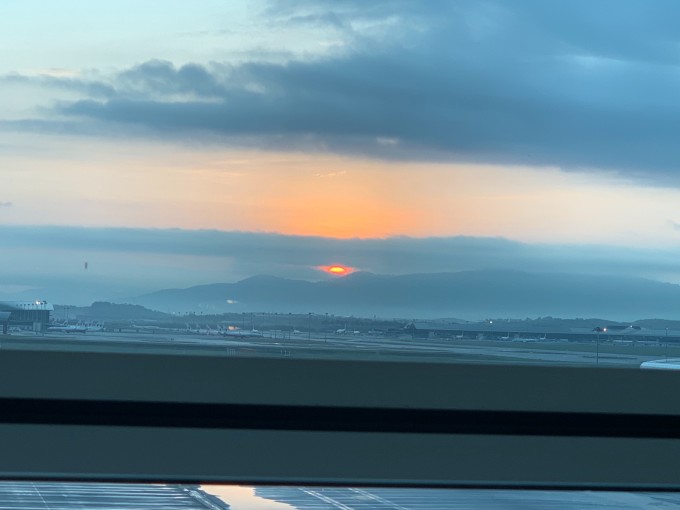 ↑吉隆坡國際機場 到了機場我們先去辦理過境簽,辦過境簽的人很多,櫃臺卻很少,所以耗費了一些時間。結束以後我們去拿行李,換上 吉隆坡 的手機卡(手機卡是tb上面提前買好的,很方便)。我們叫了grab,去我們在 吉隆坡 的酒店。這裡叫grab真的很方便,而且也便宜。
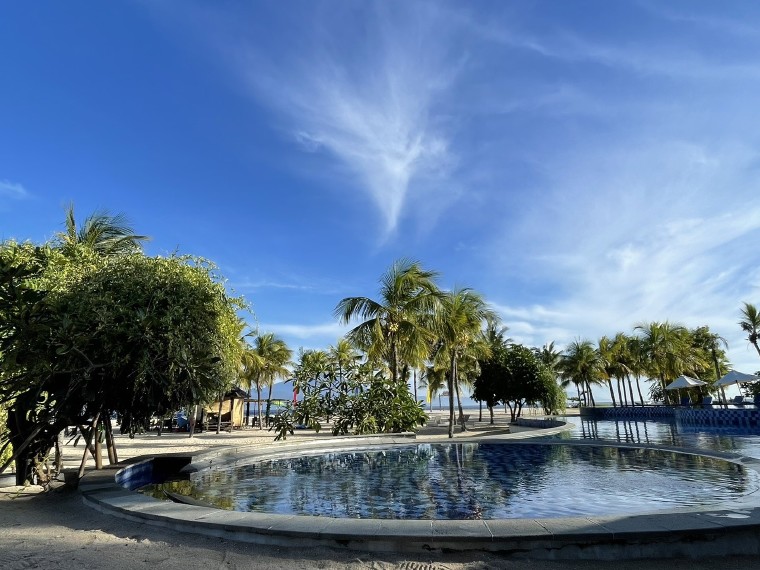
我們定的酒店Deface Platinum Suites 是公寓式的酒店,和the face suit 在一棟樓上,51樓有公用的無邊泳池,可以看到雙子塔,景色不錯。酒店比網紅酒店the face 要便宜,但是房間很大,該有的都有啦。個人認為性價比是可以的。
但是我們去的時候太早了,不能辦理入住,要等到下午三點。於是我們寄存了行李就去周邊的一些景點轉了。這家酒店周邊沒有什麼熱鬧商場便利店之類的,但是好在它離地鐵站很近,地鐵出行也是很方便的,實在不行就叫grab吧(●ˇ∀ˇ●)給大家附上酒店視頻!(。・∀・)ノ 狄菲斯白金套房51層無邊泳池
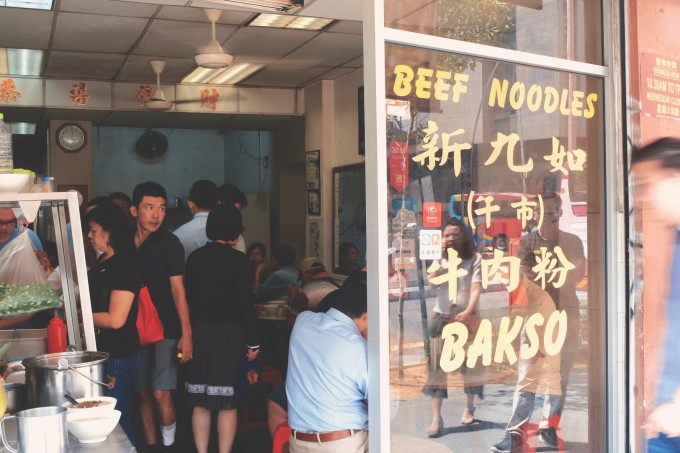
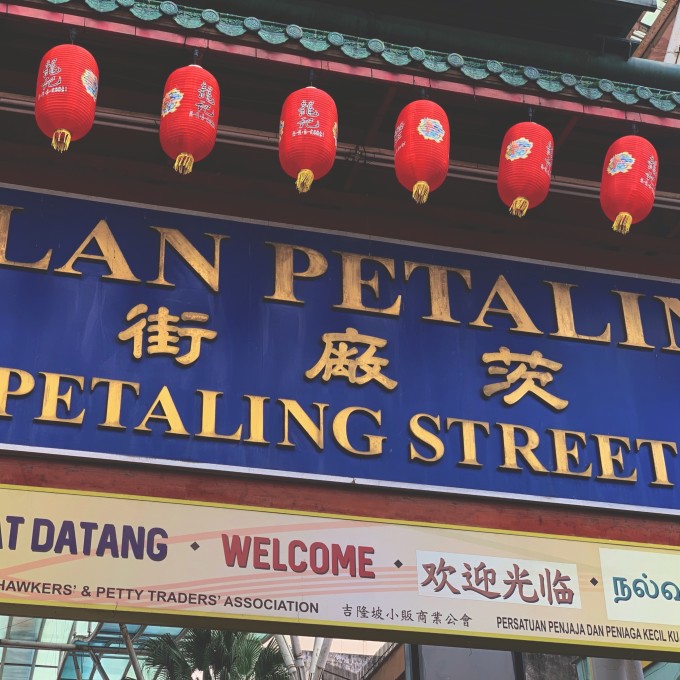
我們第一天去了茨廠街,是他們那邊的唐人街,如果你的行程趕,那麼這個景點可以省去了,那邊就像步行街一樣,賣很多雜七雜八的東西。之後我們一路走走拍拍,但是 馬來西亞 的太陽實在是太毒了,堅持不下去了,馬上回到酒店checkin休息。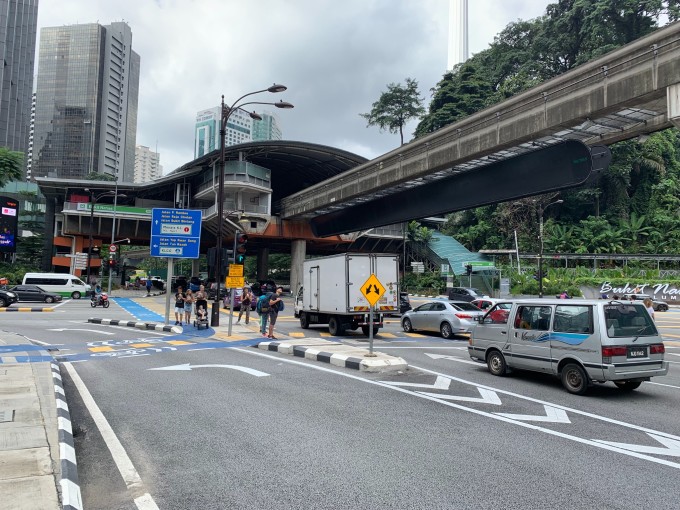
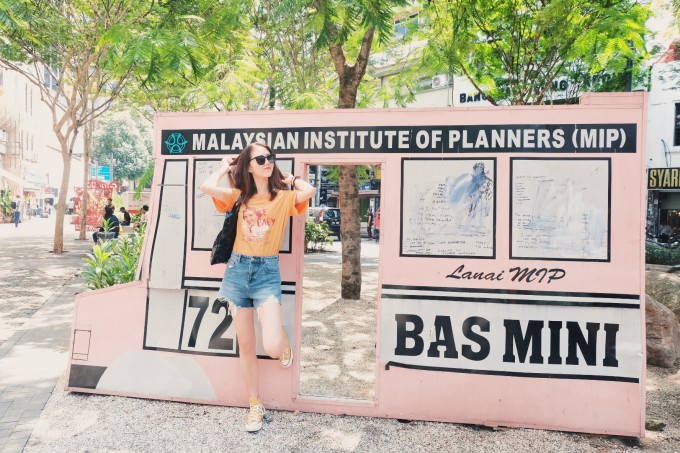
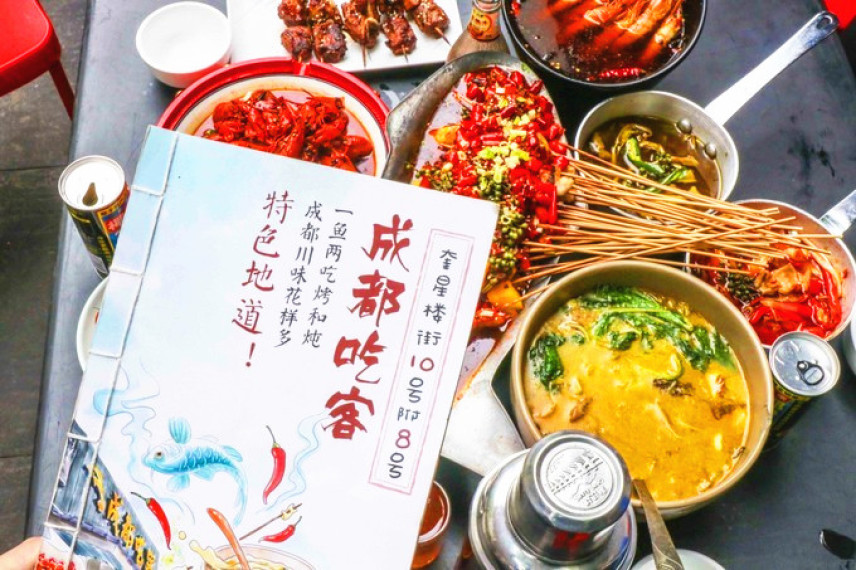
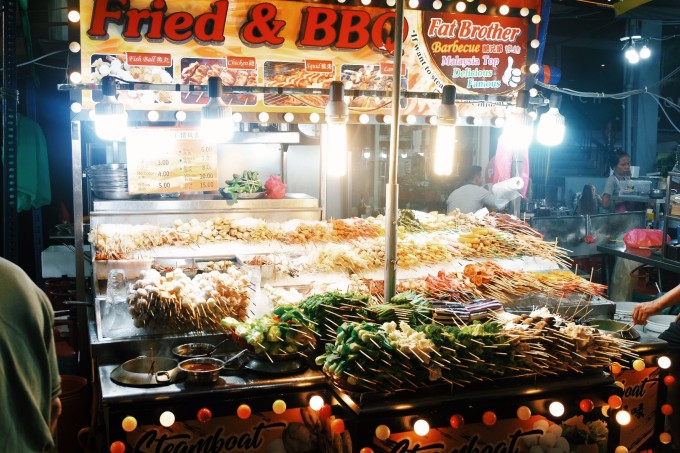
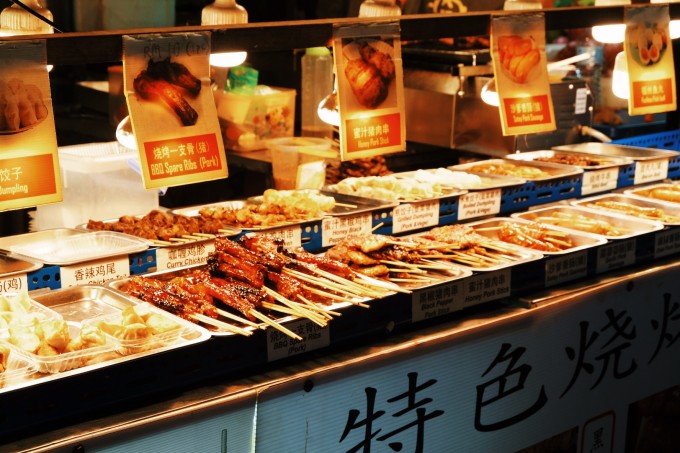
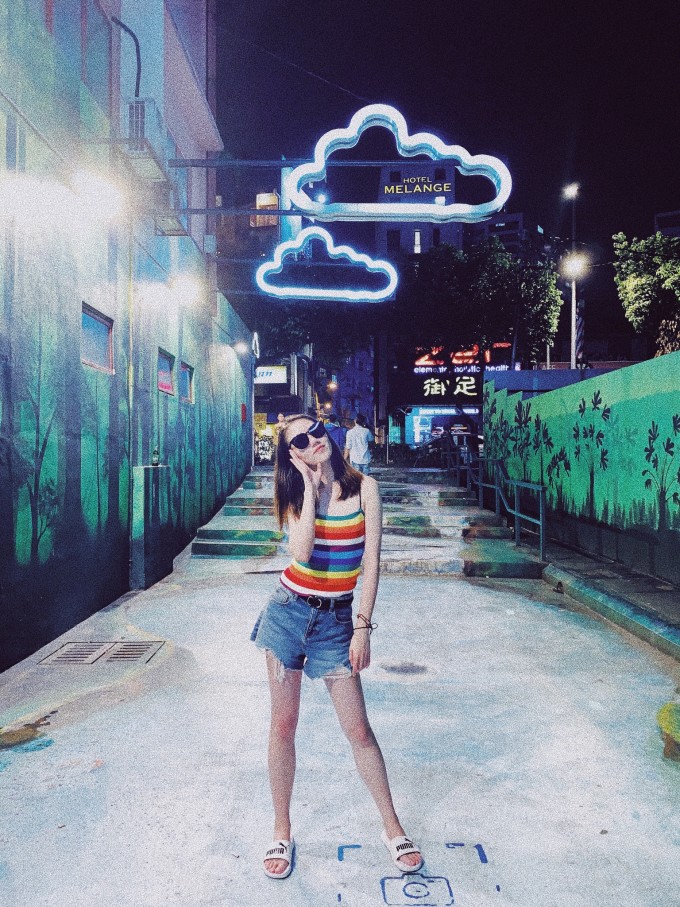
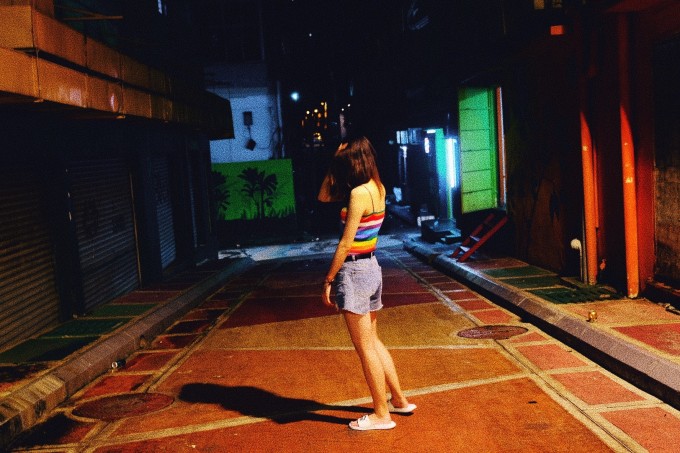
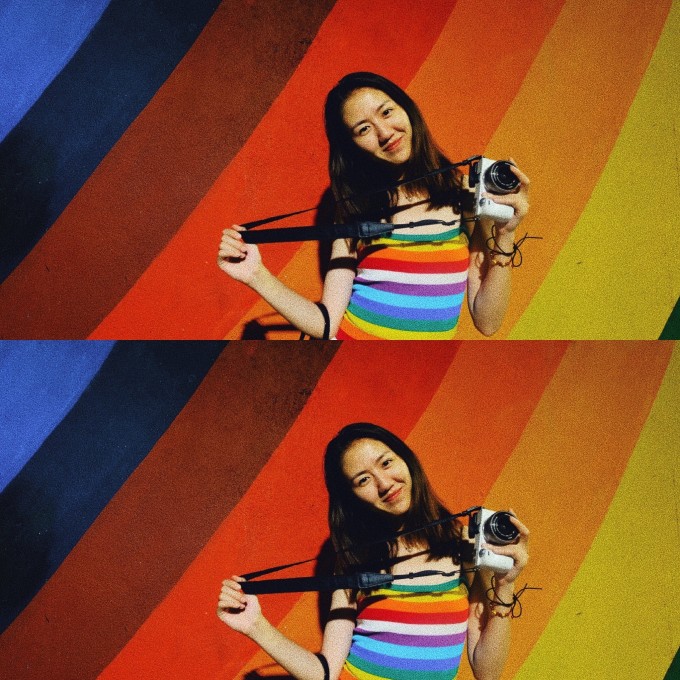
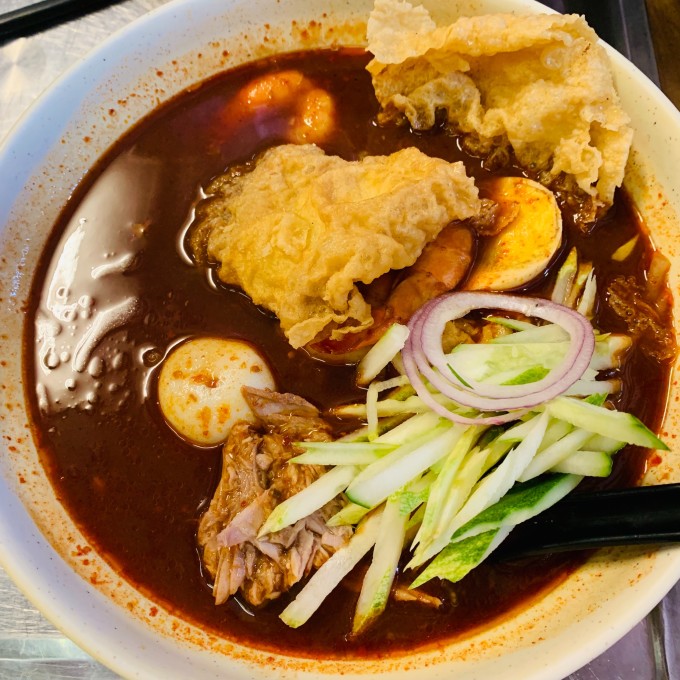
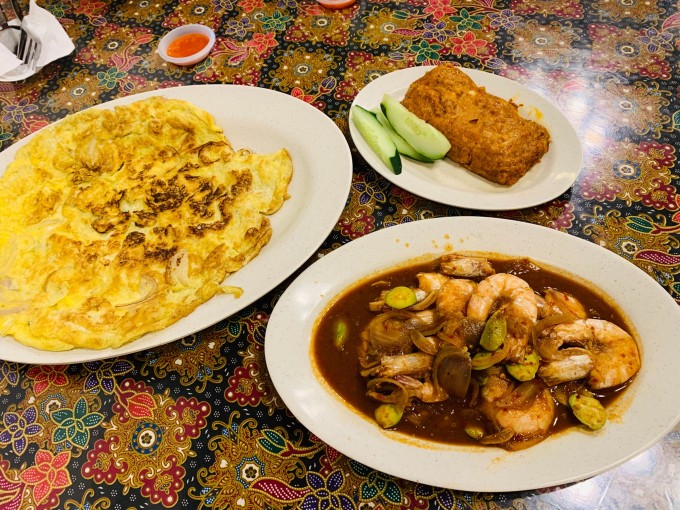
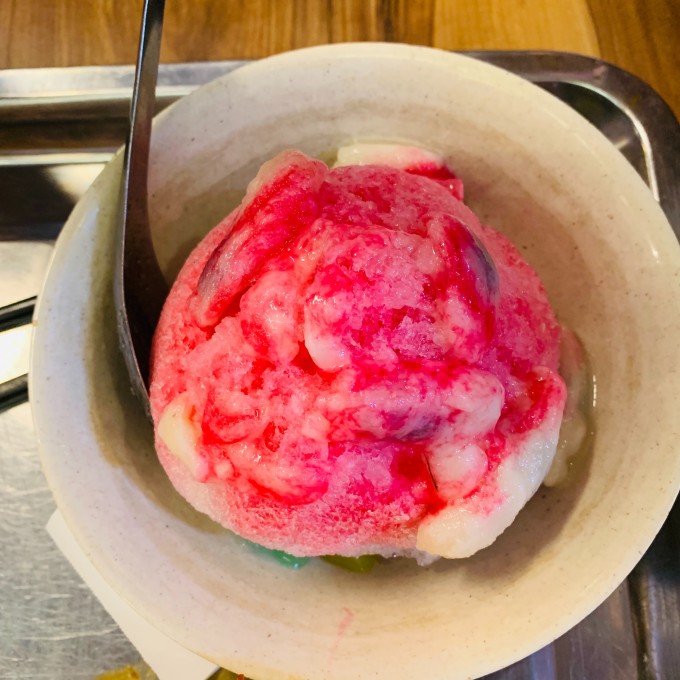
 回到酒店休整過後,我們決定到阿羅街覓食,阿羅街有很多美食,海鮮,可以挑選一家坐下吃飯,吃好可以去吃一家香蘭葉,他們家的奶糕可真是好吃(●'◡'●),吃飽喝足後可以在阿羅街旁邊的小巷子里拍照,這個小巷子就在阿羅街旁邊。
  ↑阿羅街
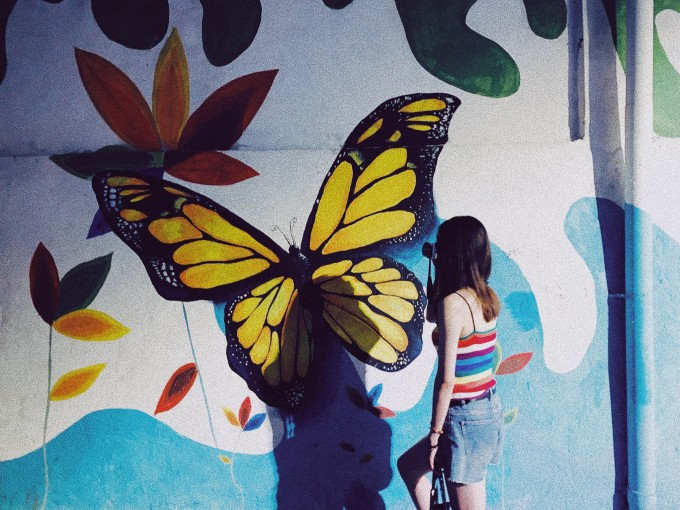
↑阿羅街  ↑阿羅街
↑阿羅街 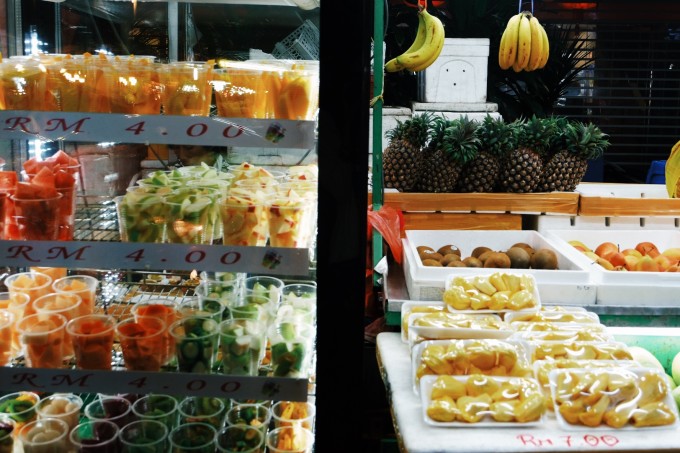
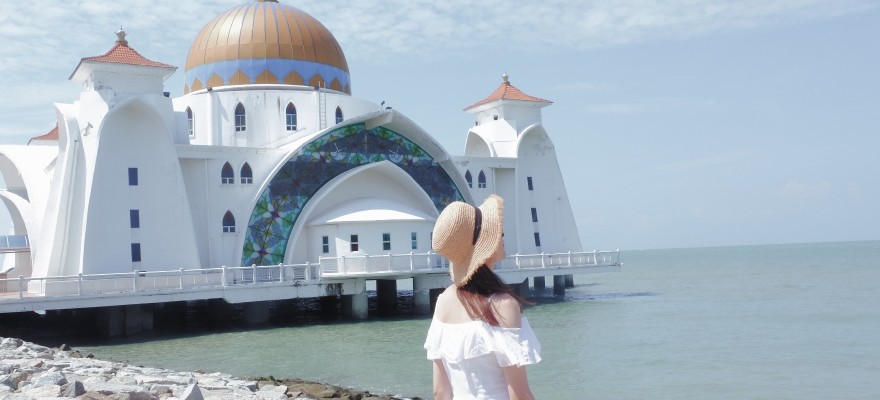
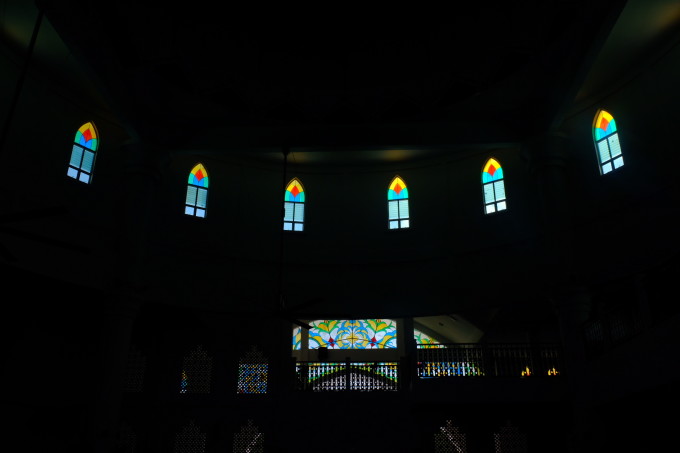
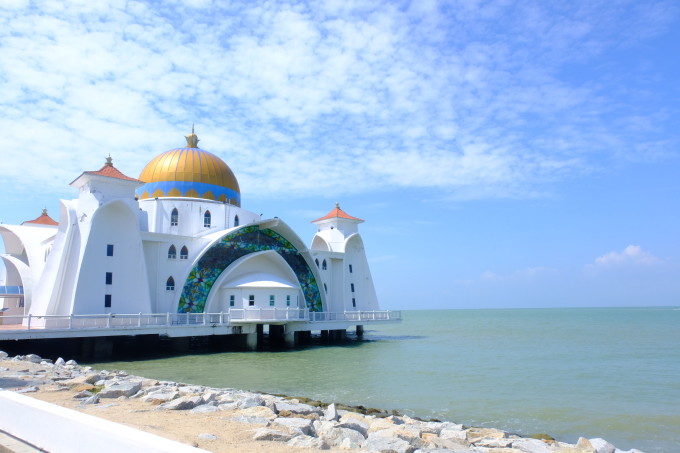
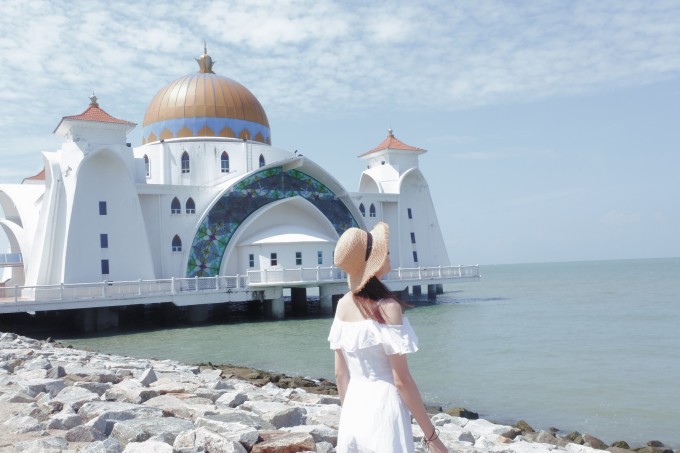
 好啦,回酒店睡一個美美的覺 馬六甲布城一日游第二天我們去了 馬六甲 布城 那一塊,提前一天在淘寶上定的包車行程,很方便,司導會中文,人很nice,介紹了很多當地的美食,景點。 馬六甲 那一塊離 吉隆坡 還挺遠的,坐車過去兩個小時吧。我們先到了海上清真寺,這裡很漂亮,穿上他們的服裝就可以進去啦,記住,要把頭髮全部包在頭巾裡面哦。
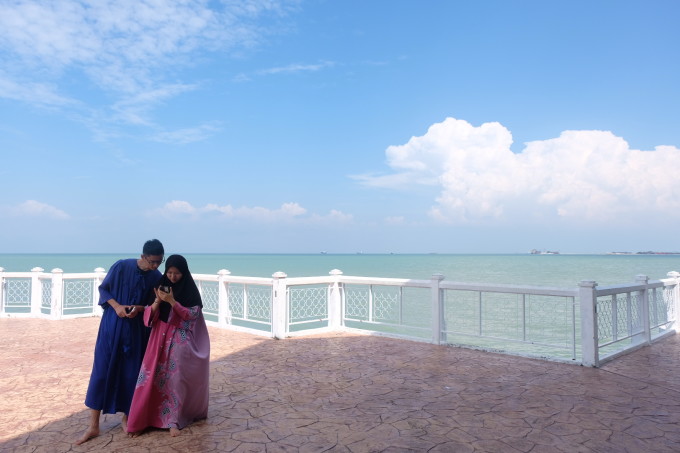
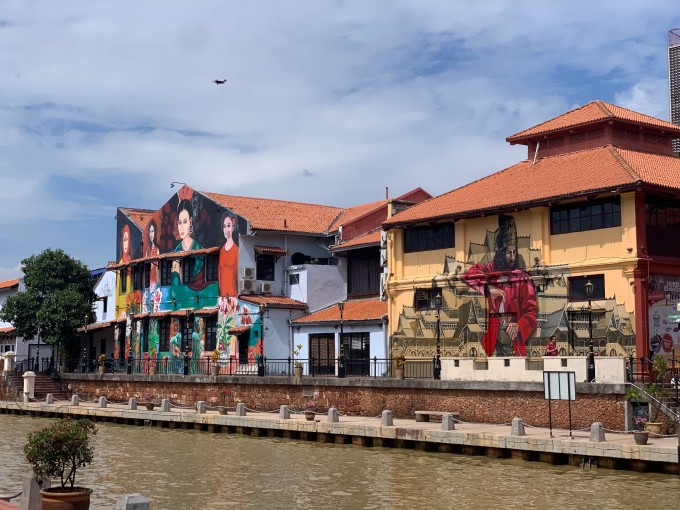
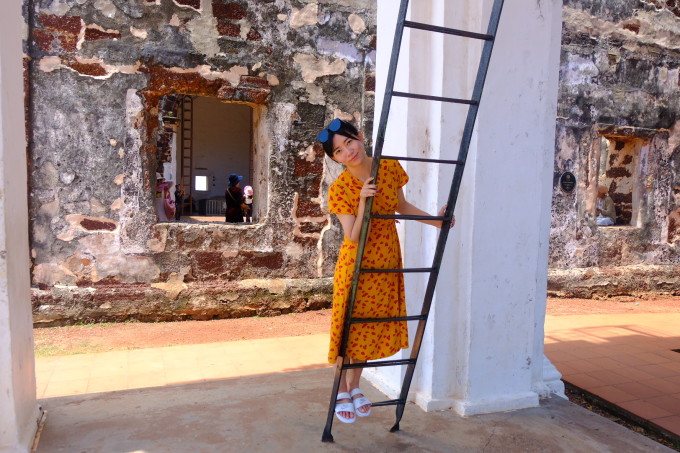
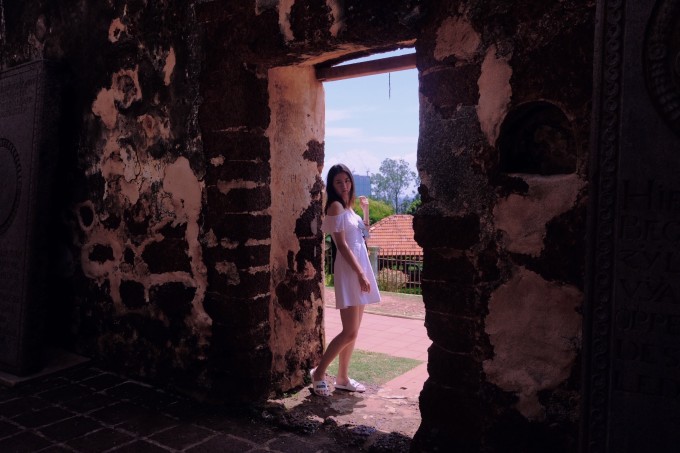
 接下來我們到了雞場街吃飯,司導推薦我們吃雞粒飯,每人一顆我覺得就夠了,味道還不錯。這邊有很多店都是可以支付寶的,所以非常方便~吃完飯,去 荷蘭 紅屋附近拍照啦。
去程: 上海 浦東—— 吉隆坡 , 吉隆坡 ——伍拉賴國際機場。回程也是 吉隆坡 轉機。去的時候我們想一樣的 吉隆坡 轉機了, 吉隆坡 可以辦理120小時的過境簽,所以我們決定先在 吉隆坡 玩三天。去的時候在機場辦理值機的時候發生了一些囧事( ╯□╰ ),我們沒有打印辦理過境簽所需要的行程單,還好值機櫃臺的小哥哥提醒我們,小伙伴們要註意哦:辦理 吉隆坡 過境簽所需要的行程單要全英文的,千萬不要打印錯啦(。・∀・)ノ
好啦,我們愉快的旅程開始啦( ̄︶ ̄)↗
清晨,我們到達 吉隆坡 機場。
我們定的酒店Deface Platinum Suites 是公寓式的酒店,和the face suit 在一棟樓上,51樓有公用的無邊泳池,可以看到雙子塔,景色不錯。酒店比網紅酒店the face 要便宜,但是房間很大,該有的都有啦。個人認為性價比是可以的。
但是我們去的時候太早了,不能辦理入住,要等到下午三點。於是我們寄存了行李就去周邊的一些景點轉了。這家酒店周邊沒有什麼熱鬧商場便利店之類的,但是好在它離地鐵站很近,地鐵出行也是很方便的,實在不行就叫grab吧(●ˇ∀ˇ●)給大家附上酒店視頻!(。・∀・)ノ 狄菲斯白金套房51層無邊泳池
我們第一天去了茨廠街,是他們那邊的唐人街,如果你的行程趕,那麼這個景點可以省去了,那邊就像步行街一樣,賣很多雜七雜八的東西。之後我們一路走走拍拍,但是 馬來西亞 的太陽實在是太毒了,堅持不下去了,馬上回到酒店checkin休息。